
I saw an image online with an old Hong Kong / store front - neon lights at night vibe. I was inspired by the image and wanted to replicate the style in the studio. Here is the inspiration photo.

To replicate the concept I needed a tattooed model (preferably with a chest piece), 3 lights, black background (for a nighttime feel), colored gels / colored film & a large piece of glass.
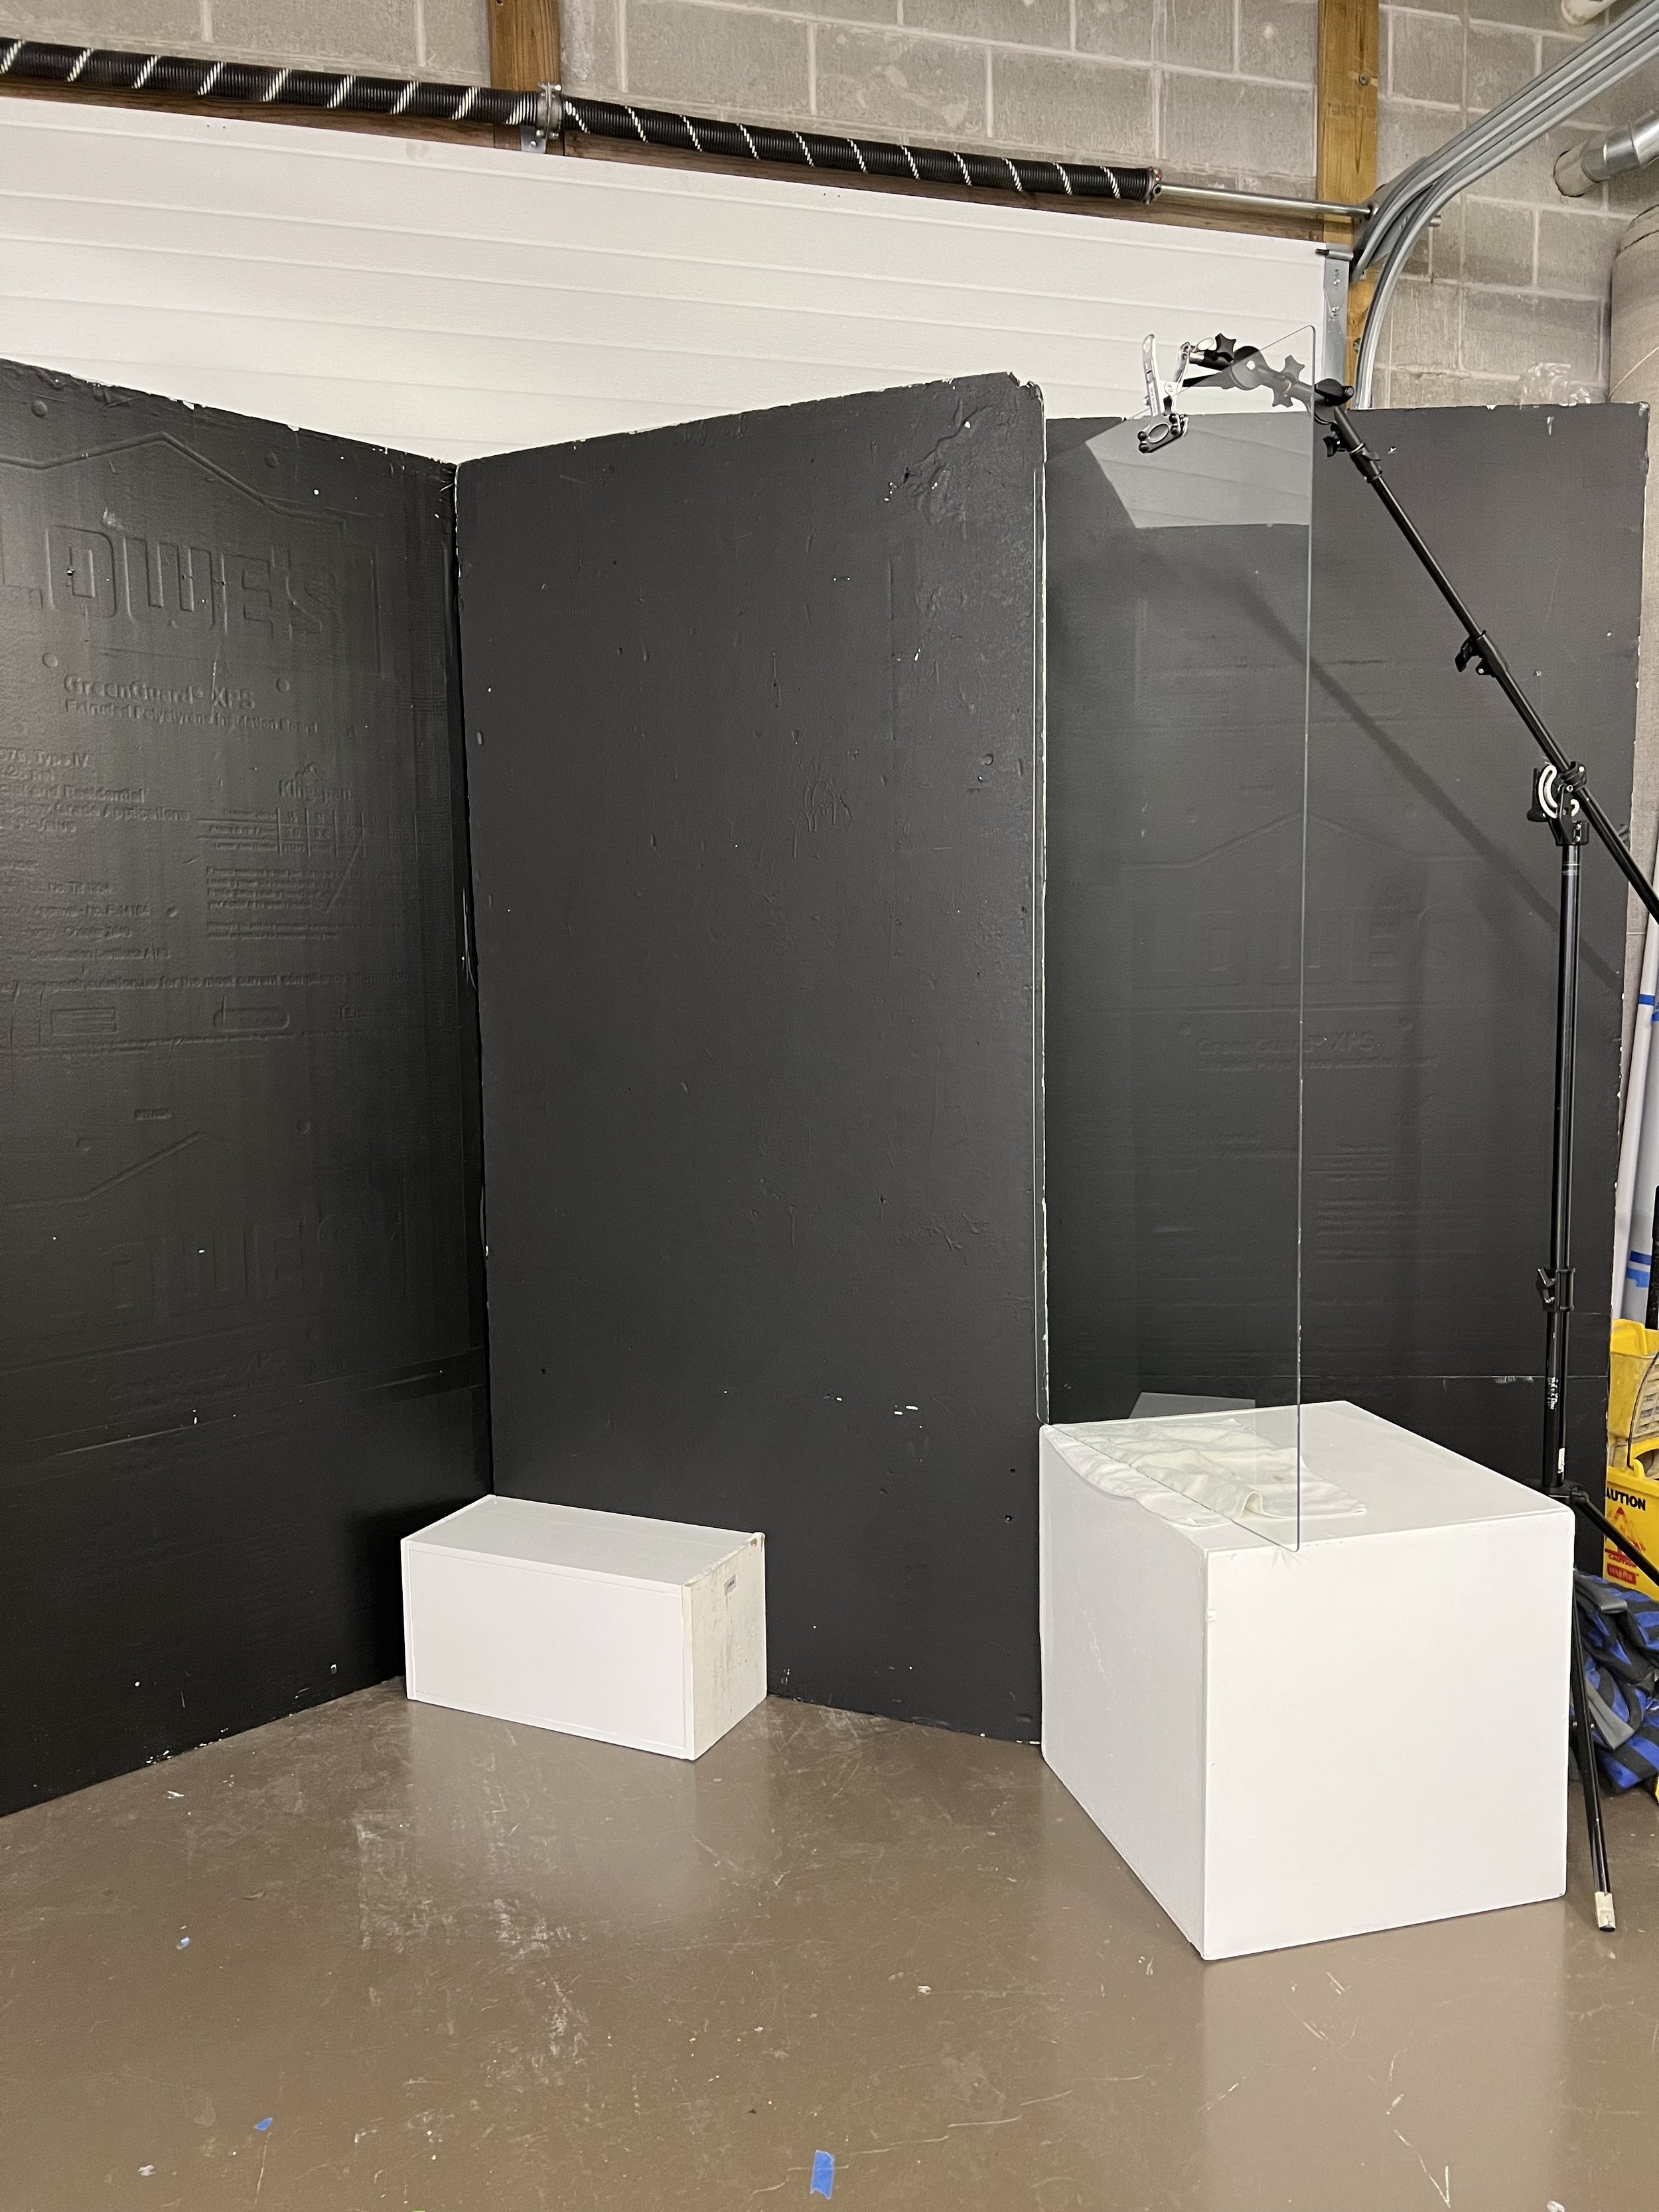
I placed the black side of a v-flat in the back of the studio. I then used a posing box as the base for the 6’ sheet of tempered glass. A boom arm light stand with a clamp at the end was used to secure the glass and hold it upright. Two sandbags were used on the light stand to keep it solid. Because of the angle of the glass I could see through it which I felt would impact the final look. Therefore, I placed a 2nd black side v-flat behind the glass. A smaller posing box was placed against the back of the background v-flat to keep it from shifting and knocking over the glass.
Here is the background and glass setup:
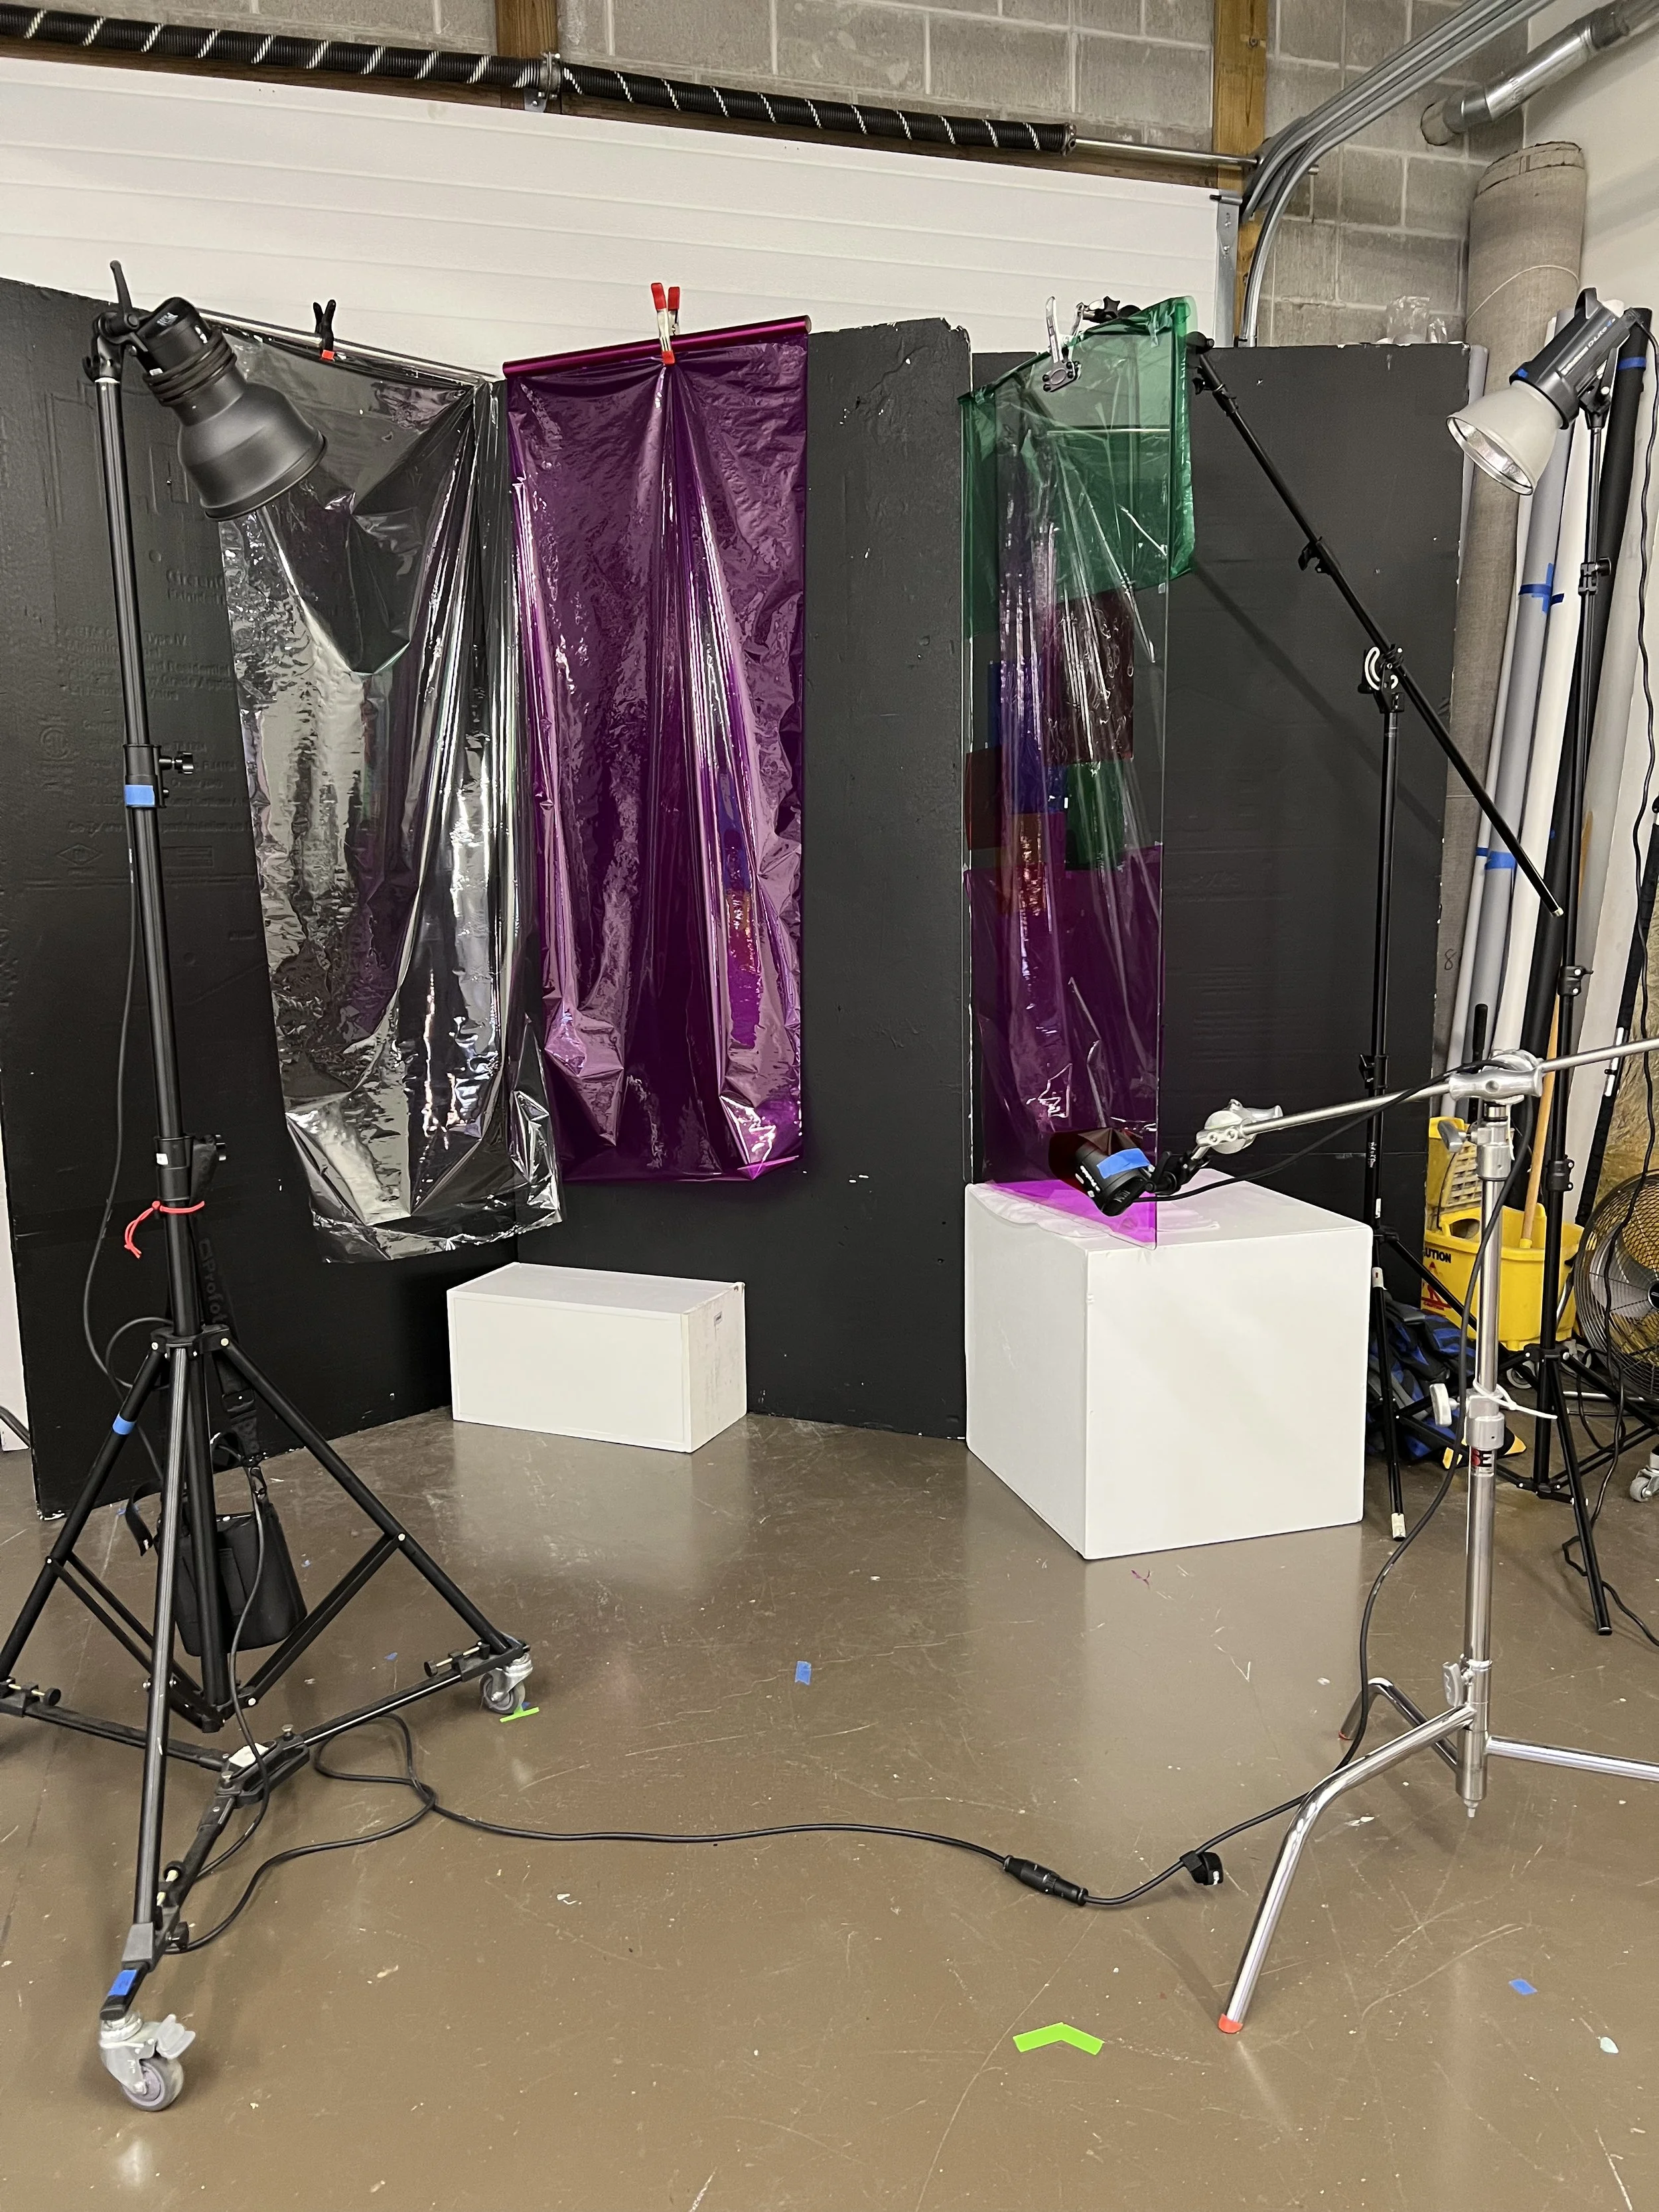
Replicating the storefront window / neon light was the primary image element and tricky to pull off. I thought getting the colored light effect would make or break the image. To accomplish the effect colored gets and clear colored film was taped to the back side of the glass panel in random order.
Here was the results:

To add color and interesting reflections to the back of the image I hung the clear roll film on the background v-flat.

Clear and purple clear basket wrap film purchased from Hobby Lobby
The goal of the setup was to have light shining through the gels on the glass camera right, the model properly lit and separated from the black background using a gelled kicker and a key light, and have only a small amount falling onto the background giving a nighttime feel.
I used 3 lights for this setup. The key light and the kicker were Profoto 250 B2’s. The key light camera left was mounted with an 8” silver reflector (subsequently changed to a snoot). This was mounted high to where my model would stand about 6-7’ away from the back of the background. the hotspot on the model’s chest. The kicker light was mounted low, camera right aiming up so light would fall on one side of model. I added a red gel. Finally an Elinchrom D-Lite 4 (the link is to the newer RX version as the version I have is retired) with an 8” reflector was aimed at the backside of the glass to illuminate the gels on the glass. I attached a black flag to the side of the D-Lite to keep the light off the background. I angled the D-Lite so only a small amount of light would fall on the model camera right.
Here is the final setup (I added the flag to the D-Lite after the first few shots):
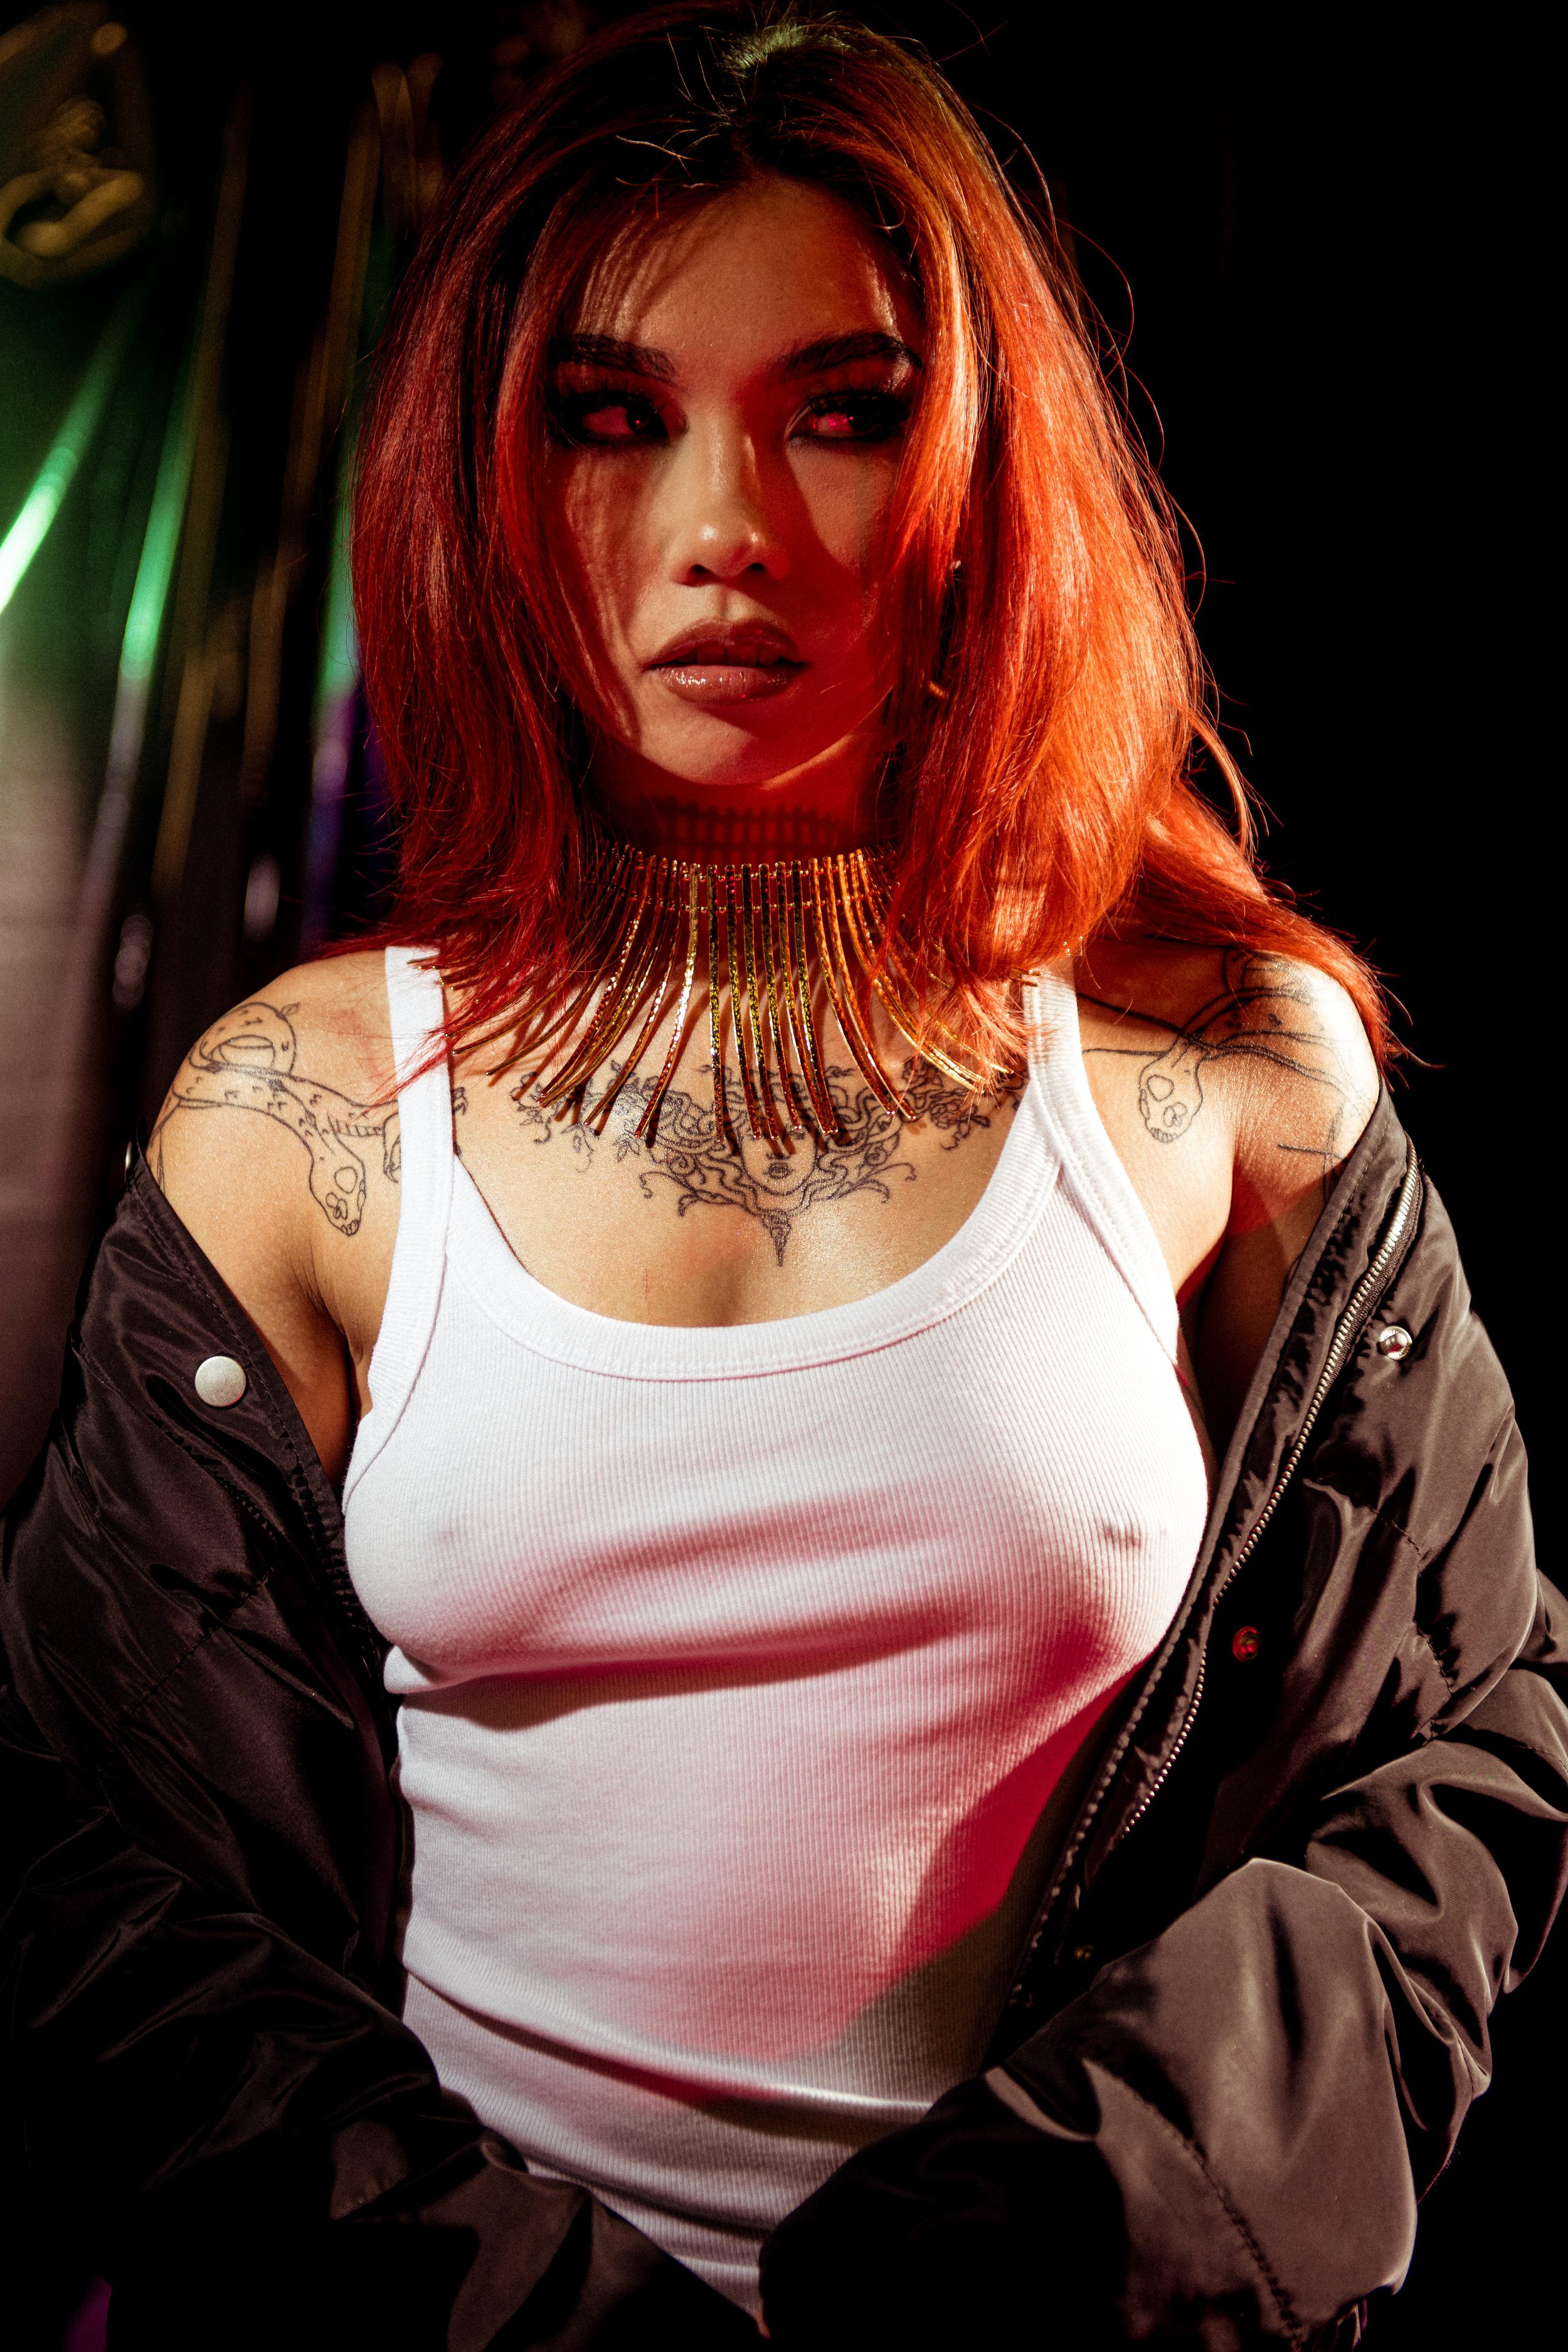
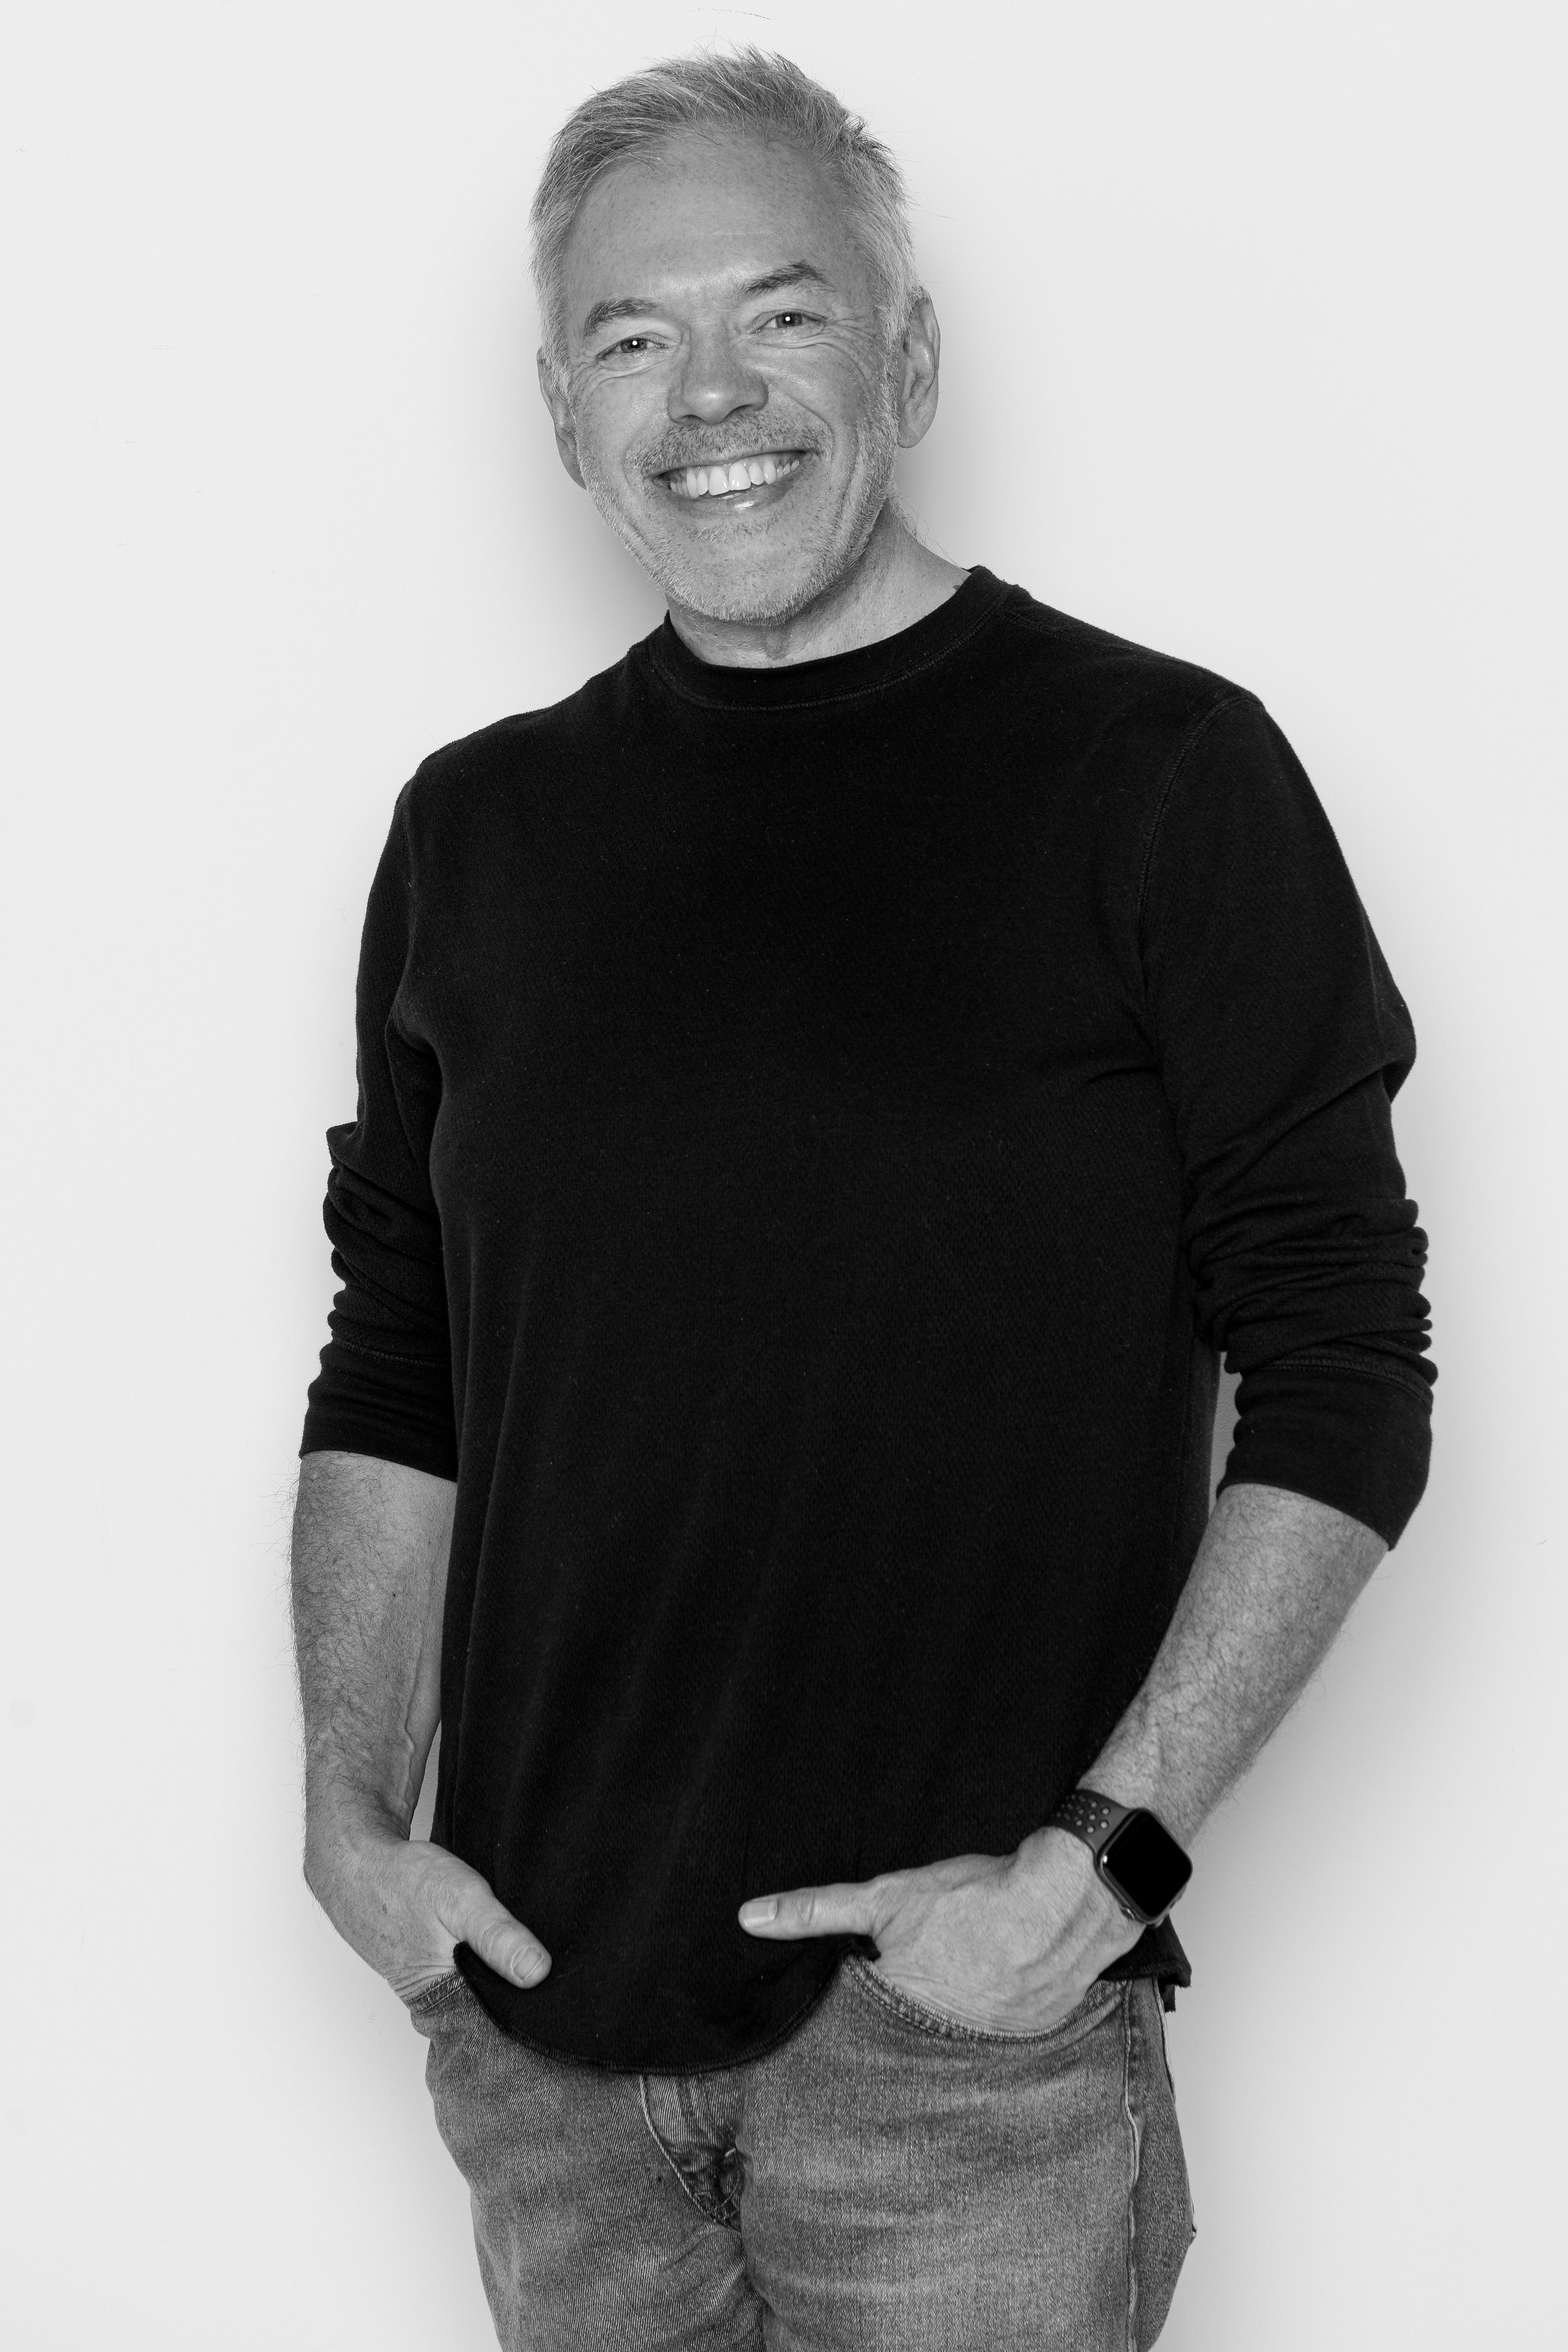
As with all photoshoots the right model is important. I wanted to book a model with a tattoo chest piece & long hair. I hired freelance model, Mikah. I worked with Mikah previously. She is talented, has the look I wanted for the concept and she’s reliable. I also booked hair / makeup artist, Emmy Elle. Emmy has skills working with editorial styled makeup.

Emmy & Mikah
Unlike most photoshoots I DIDN’T meter all my lights. I only metered the key light. I knew I would have to adjust the lights throughout the session for the desired effect. The key light was metered at f/8. I set the kicker and Elinchrom at about 1/2 power and adjusted them to taste throughout the photoshoot. Mikah was marked about 7’ from the back of the background standing on 2 apple boxes to get her to my height.

I was only going for the one look so only took about 30-40 shots. The only changes during the session was swapping the reflector for a snoot on the key light (shown in the photo above), getting different perspectives and adjusting the light power. I got about 75% of the look in camera. The final image effect was via a fair amount of editing compared to what I normally do. The editing focused on the neon light effect portion of the photo. I selectively adjusted the color saturation, changed the angle of the neon light effect, added a few colors. I also increased the saturation and intensity of the red kicker falling on Mikah.
Here is the results. I was happy with the photoshoot & results but will probably try it again with a different setup.