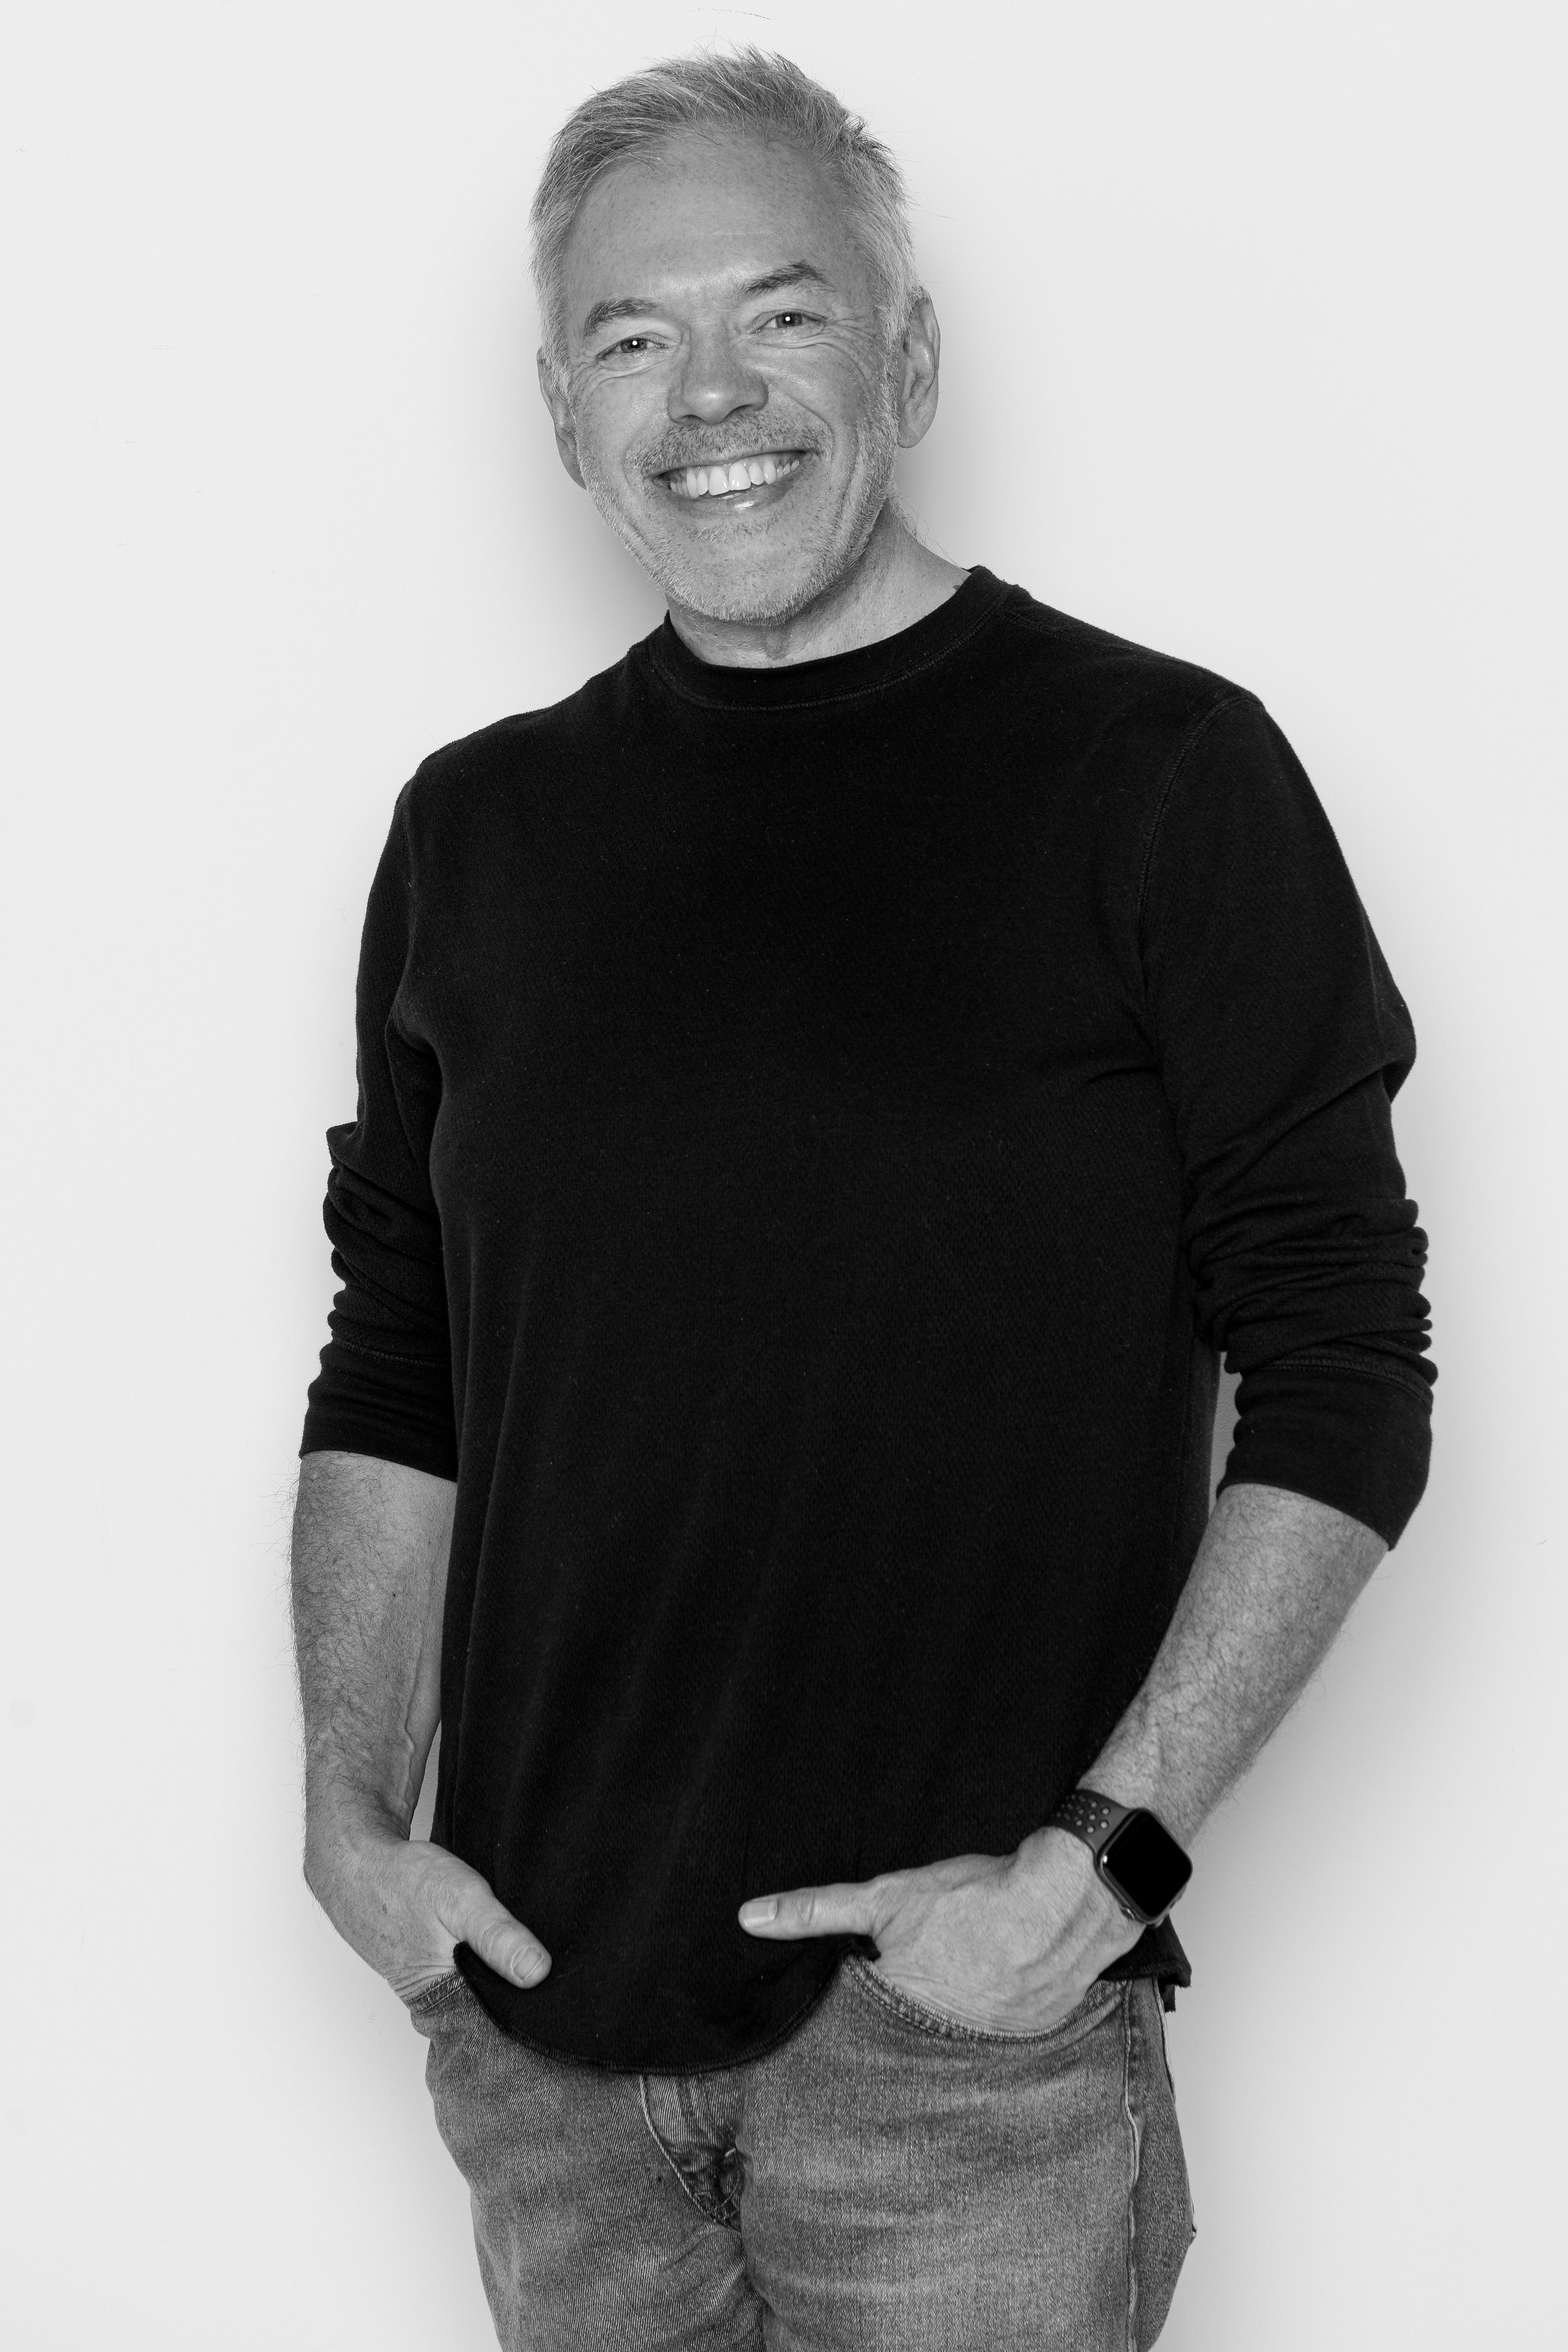

I use high key lighting in the studio regularly. High key is when you light a white background brighter than the subject you are photographing. Normally the background is lit 1-2 full stops brighter than the subject. This contrasts with a typical studio lighting setups where the background has less light falling on it compared to the subject or shadows fall on the background.
High key lighting provides a very clean / crisp look. The subject stands off the background without shadows on the background. This style of lighting can be used for editorial, commercial or beauty photography.
Here’s an example:

High key lighting is fairly easy to create using a white background (cyc wall / white seamless paper / white wall), a key light, 1 or 2 lights for the background and flags or V-flats to block the background light from falling on the subject.
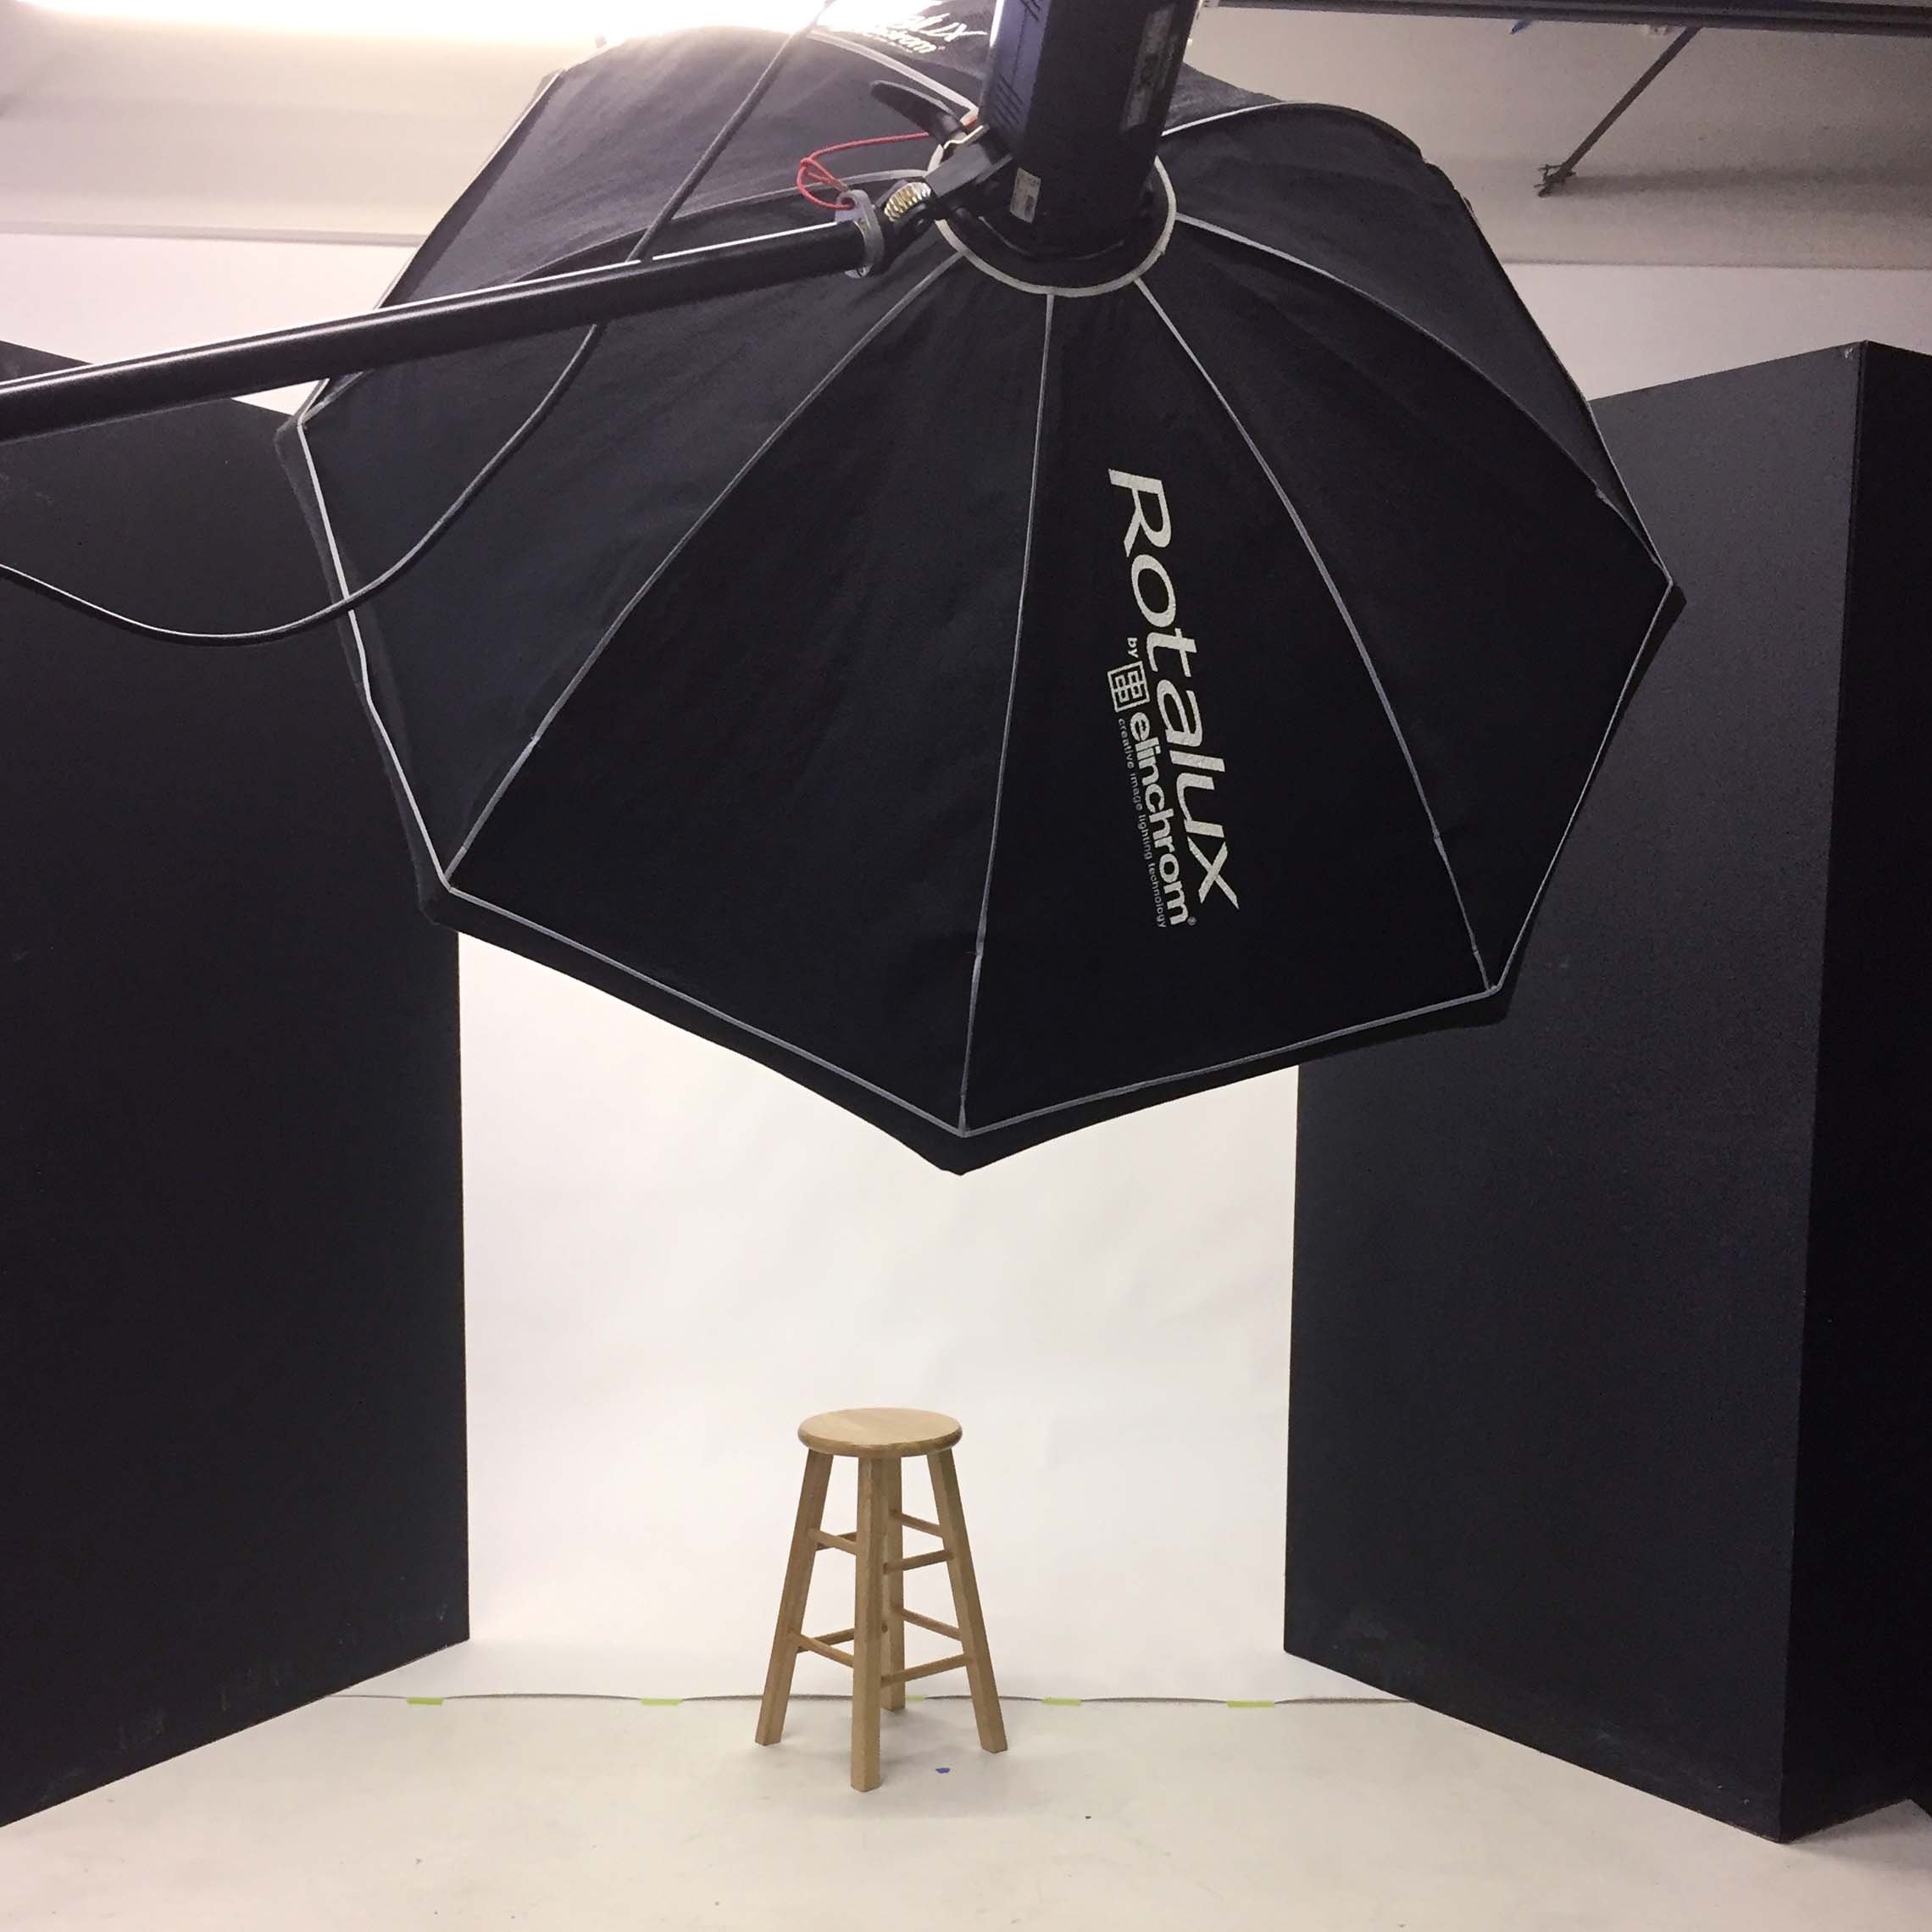
Here is the setup in my studio:
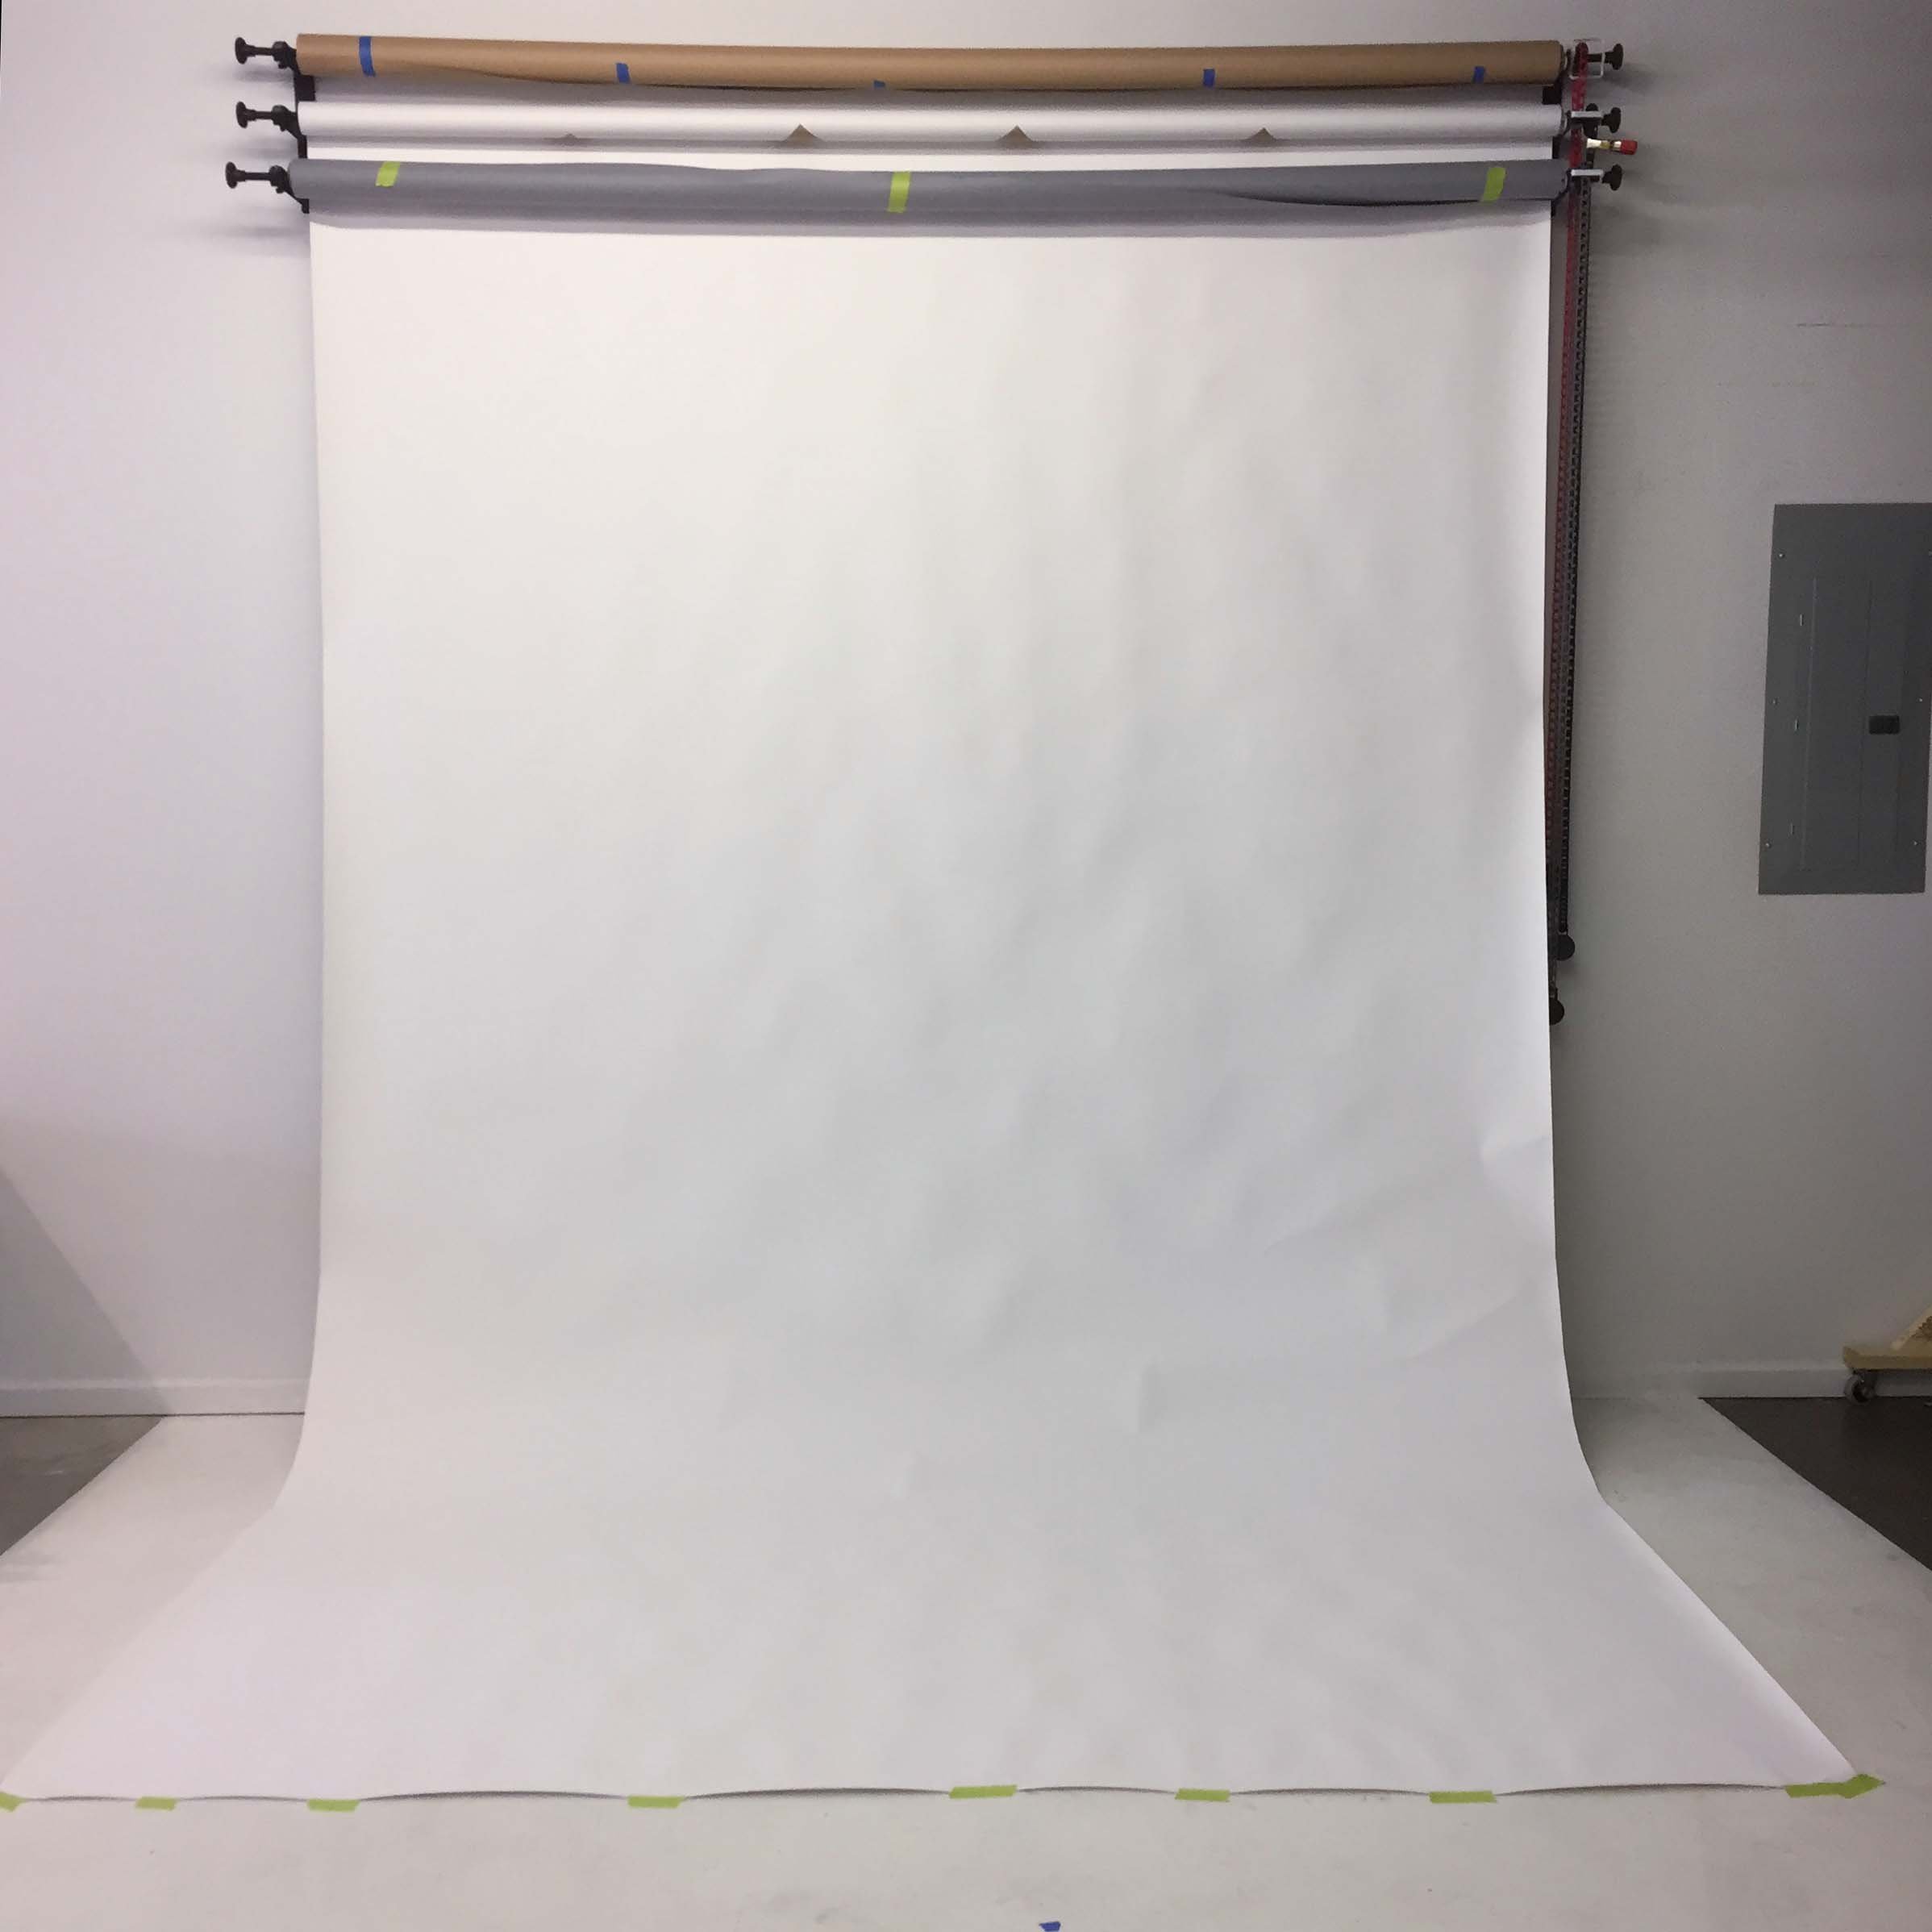


Step 1 - Set up a white seamless background
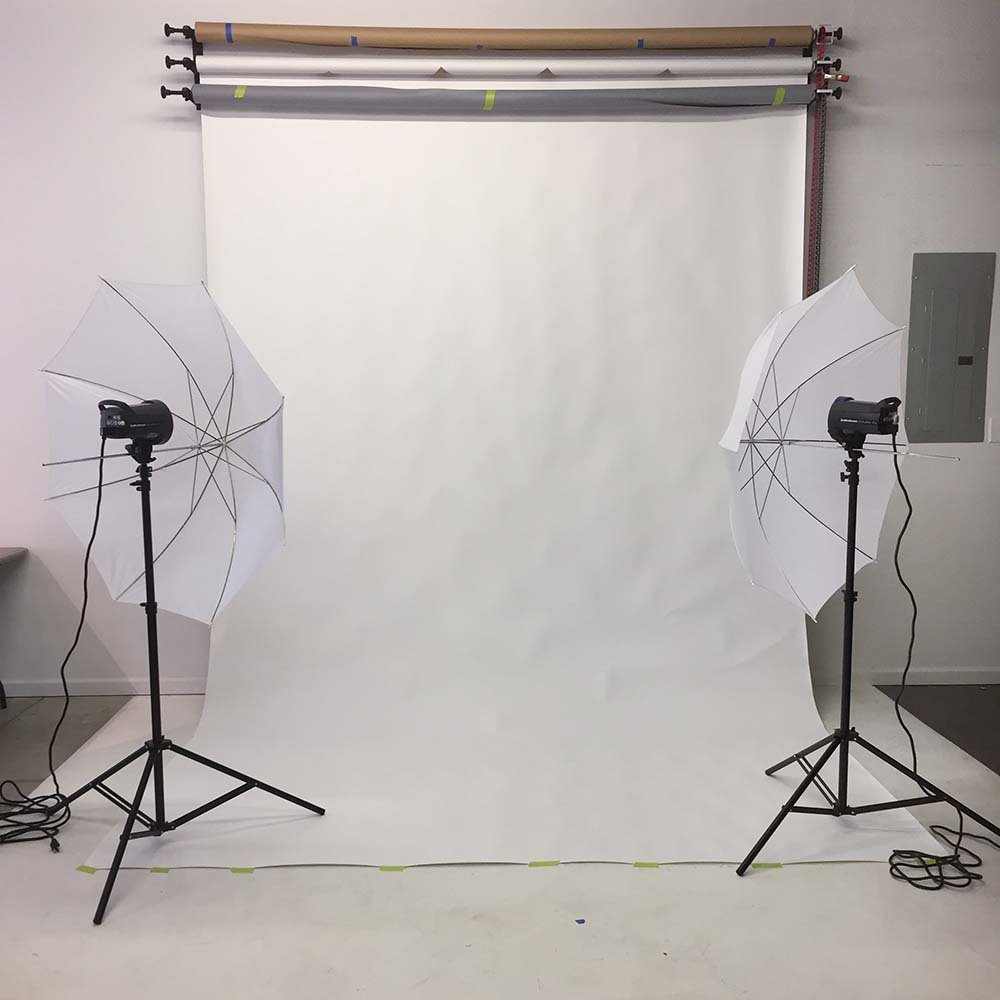
Step 2 - On this setup I used 2 Elinchrom D-Lite 4 studio strobes with a 36” white shoot-thru umbrella mounted on both sides of the background aimed at the background about 3’ away
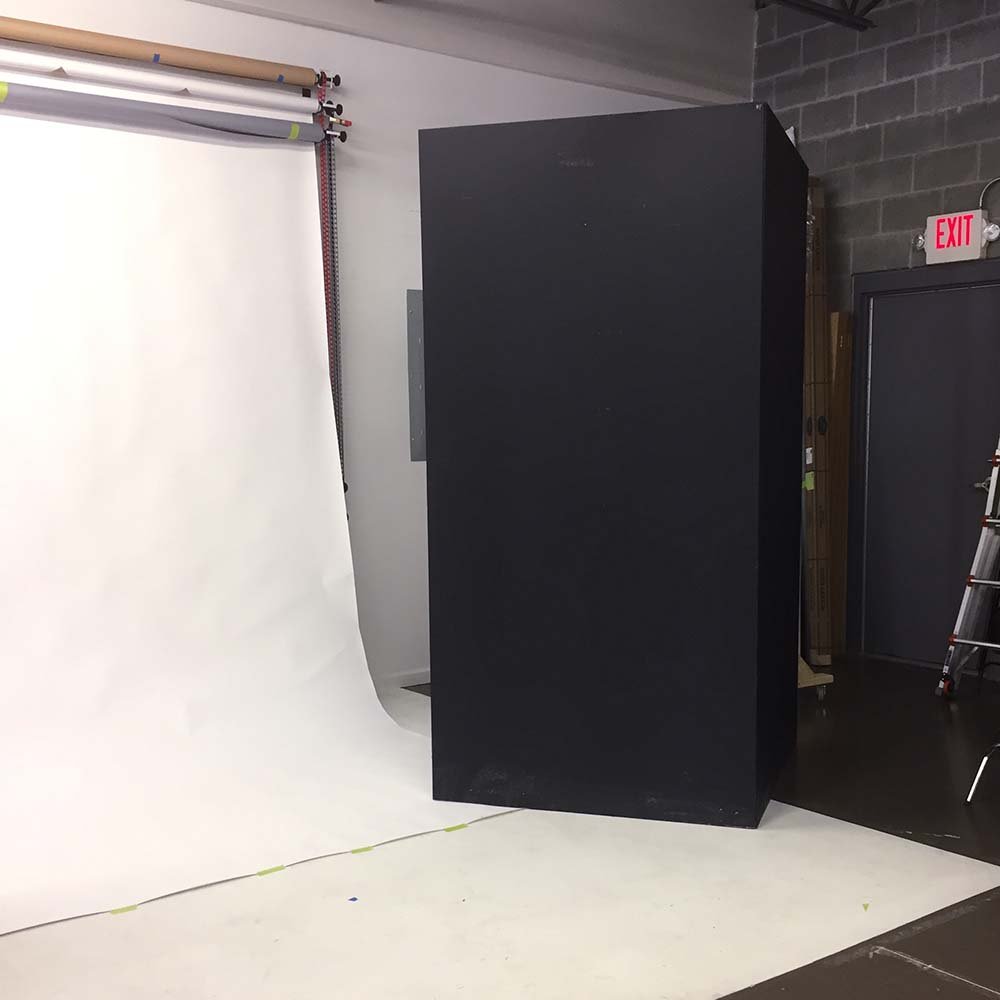
Step 3 - Hide the lights illuminating the background with a v-flat to keep the light from spilling onto my subject.
Step 4 - For the key light I’m using a 46” Rotalux Octabank mounted on another Elinchrom studio strobe on a Manfrotto Super Boom light stand.
Once the lights are in position meter your key light to the desired setting. I use ISO 160, 1/160, f/8. You then meter the lights falling on the background 1 or 2 stops brighter than the subject. To do this I turn off the key light and meter the background at f/9 or f/10. If you are using 2 lights they need to be set to the same power / settings to avoid any light falloff / gradients or gray areas. Make sure the lights falling on the background are flagged off so no light fall on the subject.
Note, if you don’t have anyway to flag off or block the background lights then make sure the lights or subject are positioned to minimize the light falling on the subject.
You’re set to give it a go.